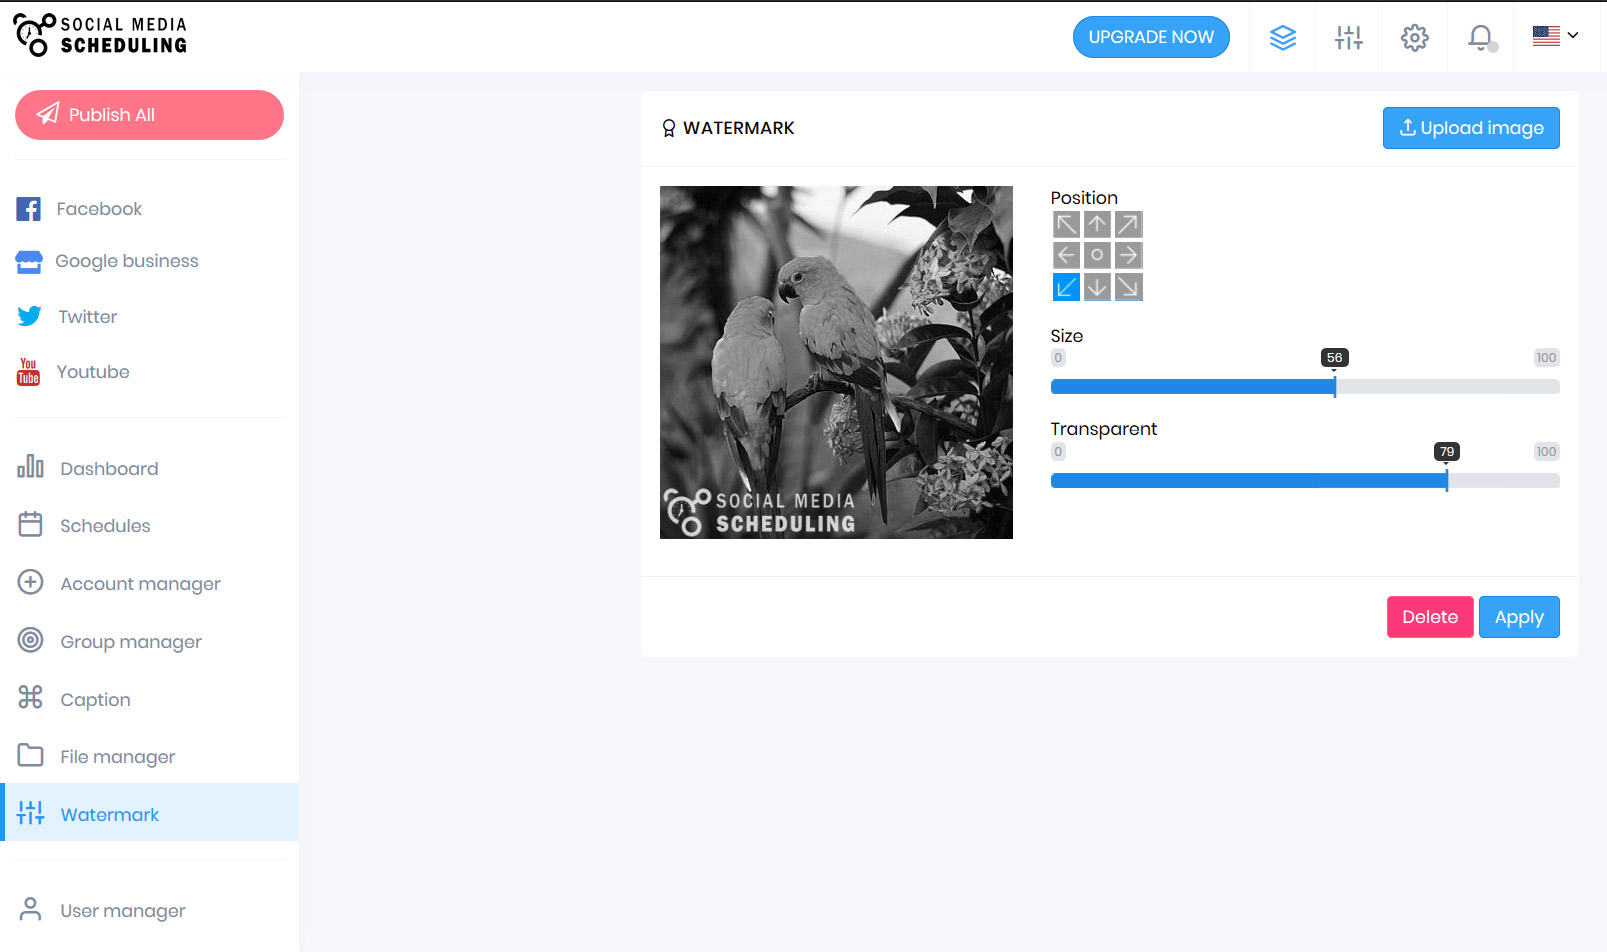
Our Watermark tool automatically applies your logo to all images you post.

Just upload your logo/watermark file, select the placement and transparency, then hit save.

1
First: Click “Watermark” on the menu.
2
#2: Upload your own watermark file. (Usually a .PNG file)
3
#3: Use our tools to adjust the placement and transparency of your logo.

A common use for our watermark tool is applying your logo to your images, applying your website address, and/or phone number.

Step 1: After you log in, cick Watermark on our navigation menu

Step 2: Use the button near the top right to upload your watermark image.

Step 3: Use our tools to select the placement, size, and transparency of your watermark.

Click “Apply”!

Now your images uploaded to SocialMediaScheduling.com will automatically have your watermark applied to them in your future posts. You can change the watermark, placement, size, and transparency any time.

Tim B

Author Tim B

Tim is one of our account managers at SocialMediaScheduling.com. Feel free to contact him with any of your account needs!

More posts by Tim B